
Summer Activity: Flower Pounded Bandana

From Forager parent/volunteer Kasia Wisniewski
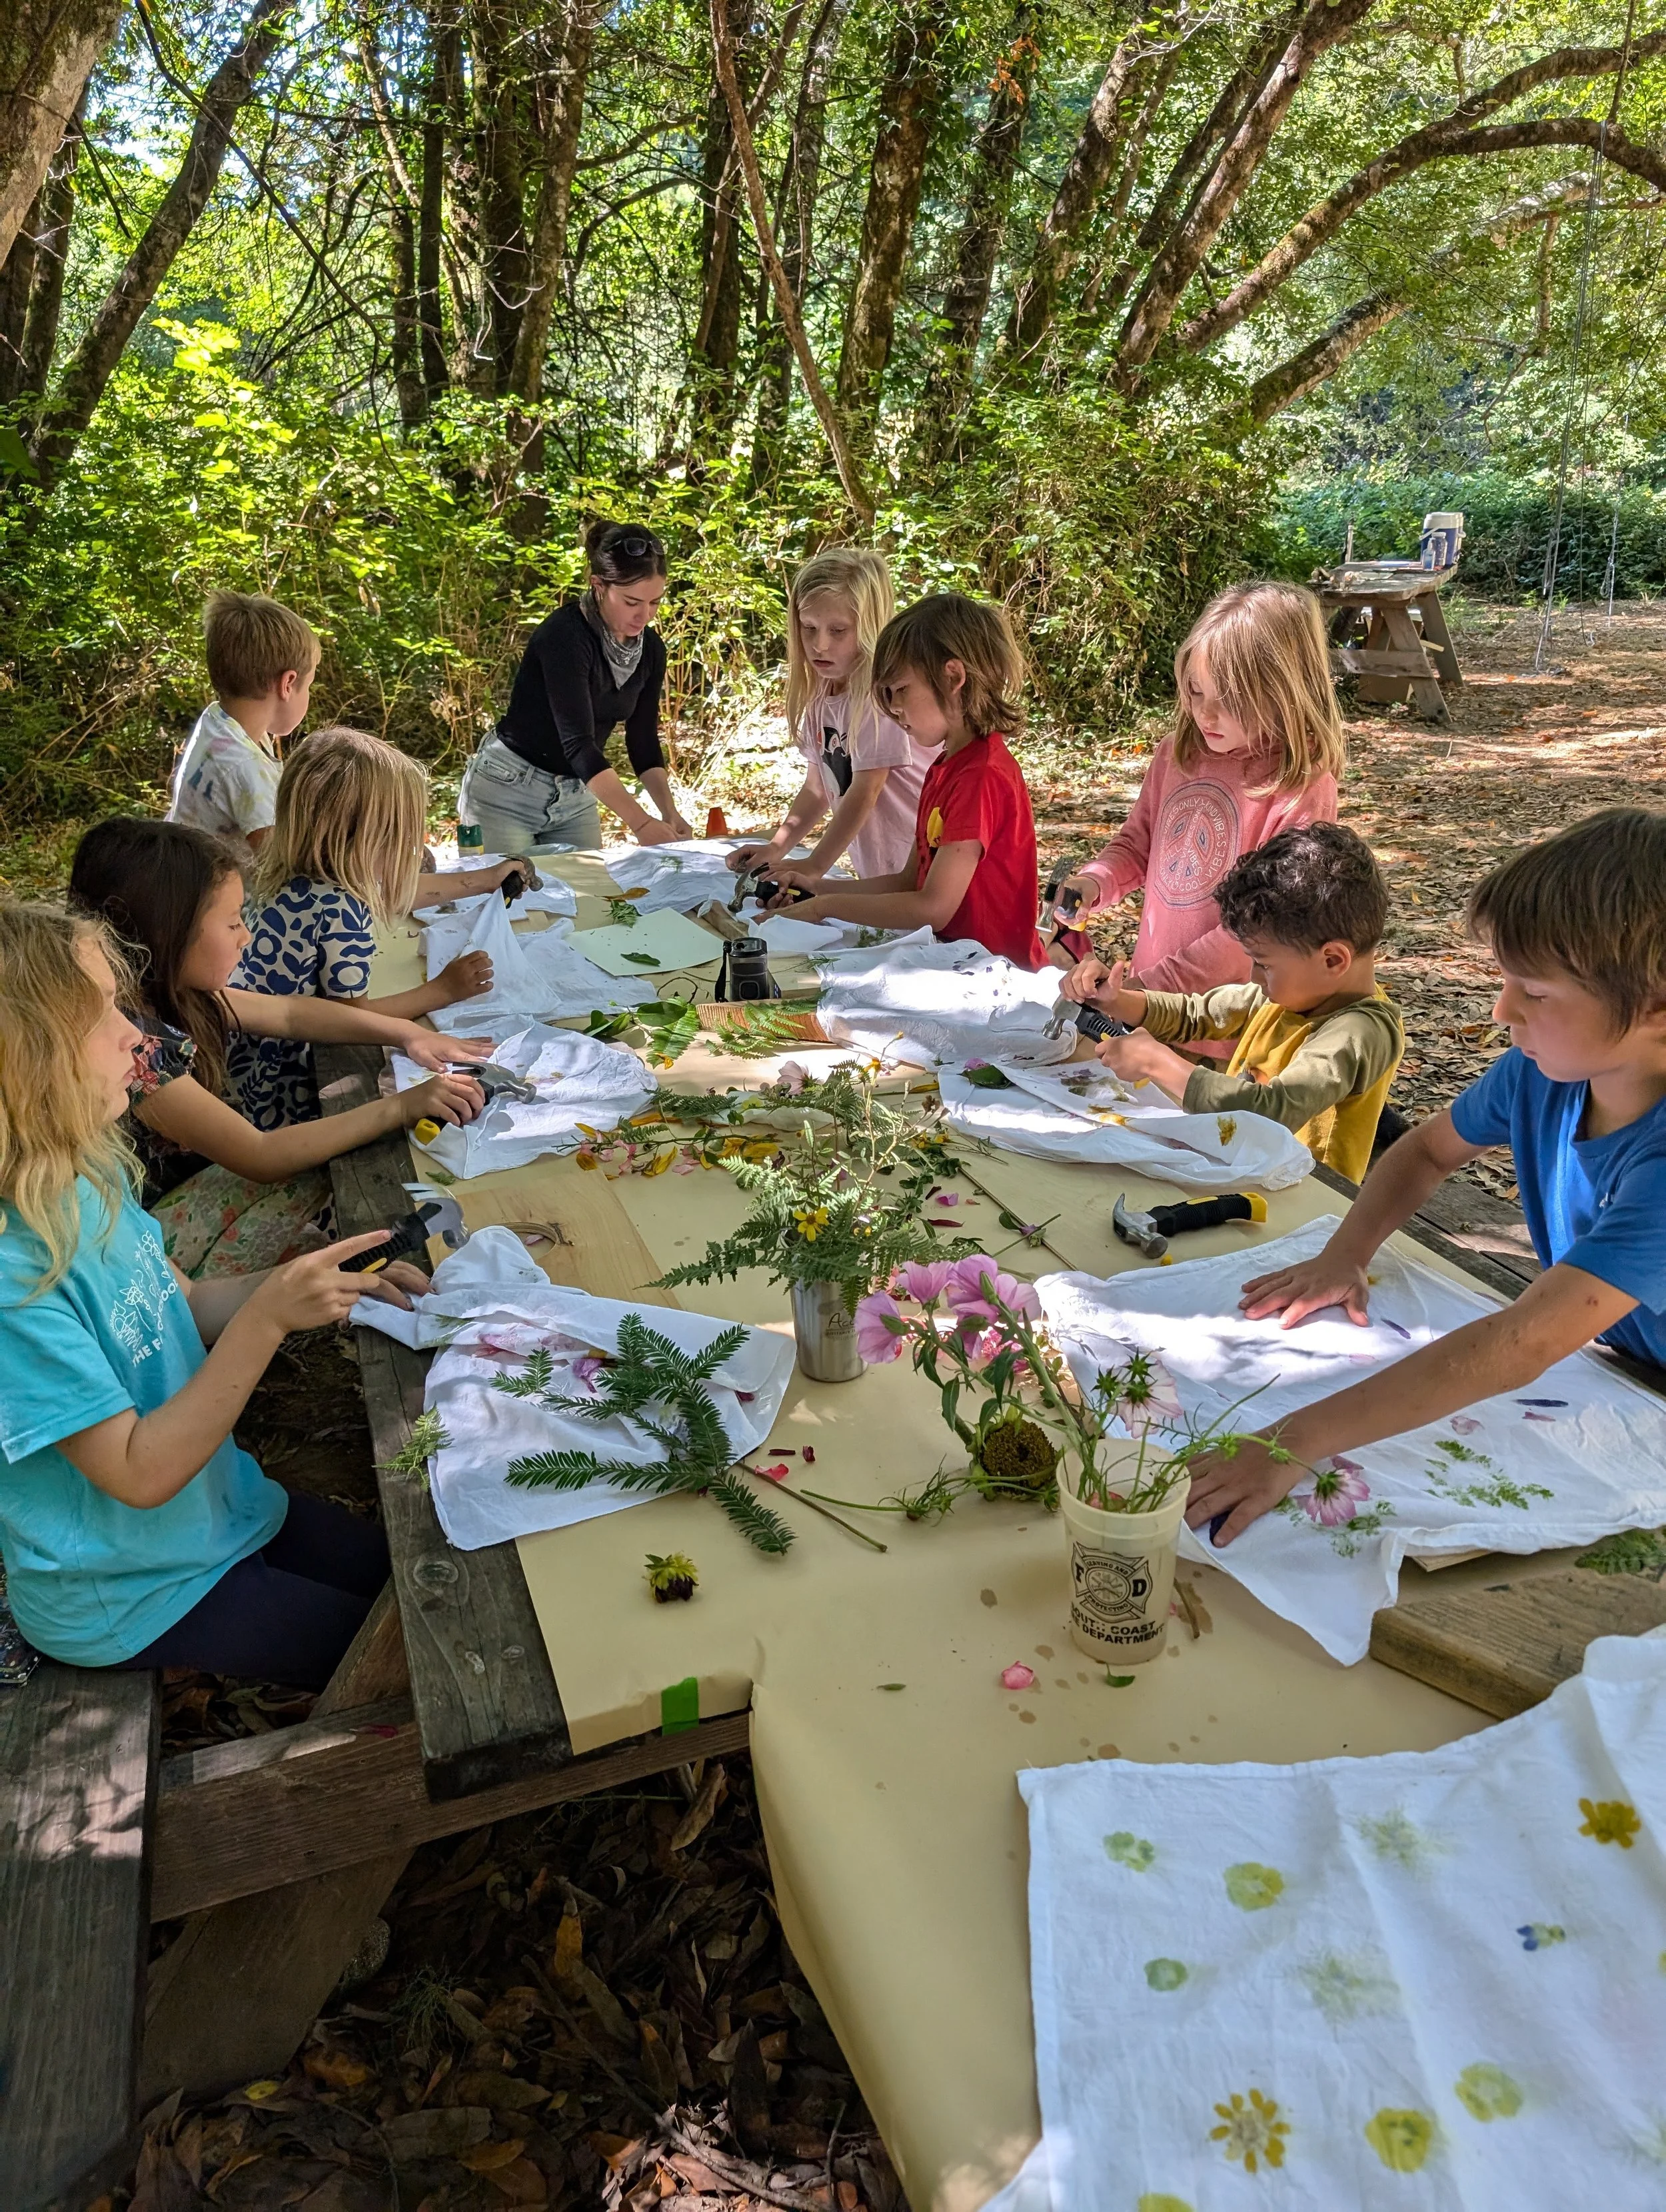
Greetings from the final week of Adventure Camp! Our 5-7 year old Foragers have been having an incredible month of exploration and learning (and fun!), and I was so grateful to witness this firsthand this past week when I spent the morning at the campus.
In keeping with Week 3’s theme of Magic, I brought an easy (and incredibly satisfying) flower pounded bandana project to shine the light on the magic of nature and plants. Flower pounding- tataki-zomé in Japanese- is a centuries-old craft that has experienced a resurgence in recent years as interest in natural dyeing has grown.

It is exactly what it sounds like- flowers and plants are arranged on fabric or paper… and then you smash them with a rock or hammer. Unsurprisingly, kids love this process. There’s a real magic to it, too- unexpected colors and shapes emerge as the pigments are released to the base material. A white cosmos yields a bright yellow! A hot pink rose becomes a dusty purple! It’s messy and experimental and an awful lot of fun.

A variety of cosmos and snapdragons! (pre-wash)
We also discussed the ephemeral nature of plants- while I did pre-treat (mordant) the fabric to prolong the permanence of the pigments, color shifts and fading are inevitable. One 6 year old quite level-headedly suggested just adding more when it faded!
What you need:
Base fabric (natural fiber like cotton or silk), optionally pre-mordanted (see note at the end for information about mordanting). We used 100% cotton bandanas.
Various plants/flowers (Cosmos, ferns, marigolds, daisies, and violets all worked brilliantly)
A smooth, flat surface (a wooden cutting board works beautifully)
A smooth rock or small hammer
Earplugs (especially if you have a group- 10 hammers hammering is… a lot)
Lay the base fabric flat over the pounding surface. Working with one or two at a time, arrange plants on one half of the fabric.
Fold the bandana over the plants. Working carefully, hammer over the plants/flowers hard enough that the pigment releases and starts to come through the fabric- but not so hard that it starts to damage the fibers and make holes. (Tip: areas like flower centers and stems contain a lot of moisture/pigment- hammer these areas gently to avoid a giant splotch.)
Open the bandana and gently peel away the squished plant material. You will have a mirrored image of your design.
Keep going! Add as many or as few plants as you like.
Allow print to dry. To increase longevity, iron with a dry iron on the back side. Mordanted fabrics (see below) should be rinsed after a few days and before use.
OPTIONAL:
For colorfastness, mordanting is an essential step. Most typically done with a mineral salt, mordanting allows the pigments to attach to the fabric. There are many ways to do this, but I like to dissolve alum (10-15% of the total weight of fabric, i.e. 10-15 grams of alum for every 100 grams of dry fabric weight) in warm water- enough for the fabric to “swim” freely. Soak for an hour or two, then rinse in a bath of clean water and hang to dry. Once dry, your fabric is ready to use.
If that feels like a lot, skip it! This project is just as fun and satisfying without mordanting- just know that the print will not be colorfast. Nothing lasts forever, anyway, right?

